Care Guide
People always ask “how often should I clean my makeup brushes?” and questions like “how do I dry my makeup brushes?” So, for all you beauty lovers, here are my pro-tips on keeping your brushes looking great and lasting longer. Some insights I've learnt on shoots and some while chatting to the best makeup artists out there.
Otis x

All my makeup brushes are PETA approved vegan and cruelty free, crafted from synthetic bristles. Like any makeup brush they can accumulate dust, bacteria, pollution, dead skin cells and product build-up. I believe in weekly cleaning (I know, sorry) and never store them in your bathroom! The best way to think about brush maintenance is to treat them the way you would your own hair, and never use hot water to clean your brushes, lukewarm is best. About bathrooms! Never store your makeup brushes in the bathroom – the humidity damages the glue that holds the bristles. Submerging your brushes in water is bad news, these beauties never soak. If it’s good enough for your hair or face, its good enough for your brushes. A good quality shampoo or bar of soap is what all the makeup professionals use to clean their brushes.
Wet Those Bristles
Start by wetting your bar of soap or adding a few drops of your shampoo or face wash. You really don’t need harsh detergents to clean your brushes, work the product into the palm of your hand or small dish. Using lukewarm water, wet the bristles, and using a circular motion rub the head into the soap for around 10 seconds to loosen all the product build up. Only work the top part of the brush, the part that’s in contact with your skin.

Rinse It
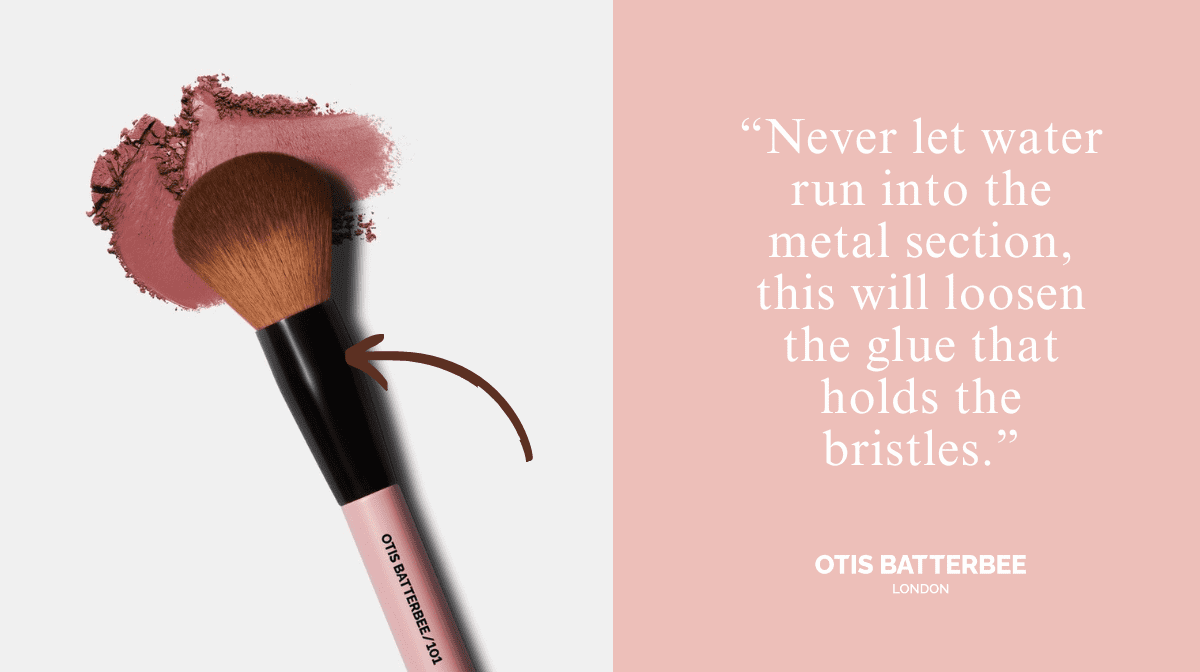
While you're rinsing the brush head in lukewarm water it’s important that you don’t let water into the metal section of the brush handle. Too much water getting into these areas can cause the brush to fall apart. To speed up the drying process, gently squeeze water out of the bristles. To help prevent shedding try not to pull on the bristles as you squeeze them. Then lay your brushes flat with the heads hanging over the edge of your counter or sink. Never dry your beauties upright! Water can run back into the brush and damage the wood and glues used to bind the base of the bristles.
Dry Out
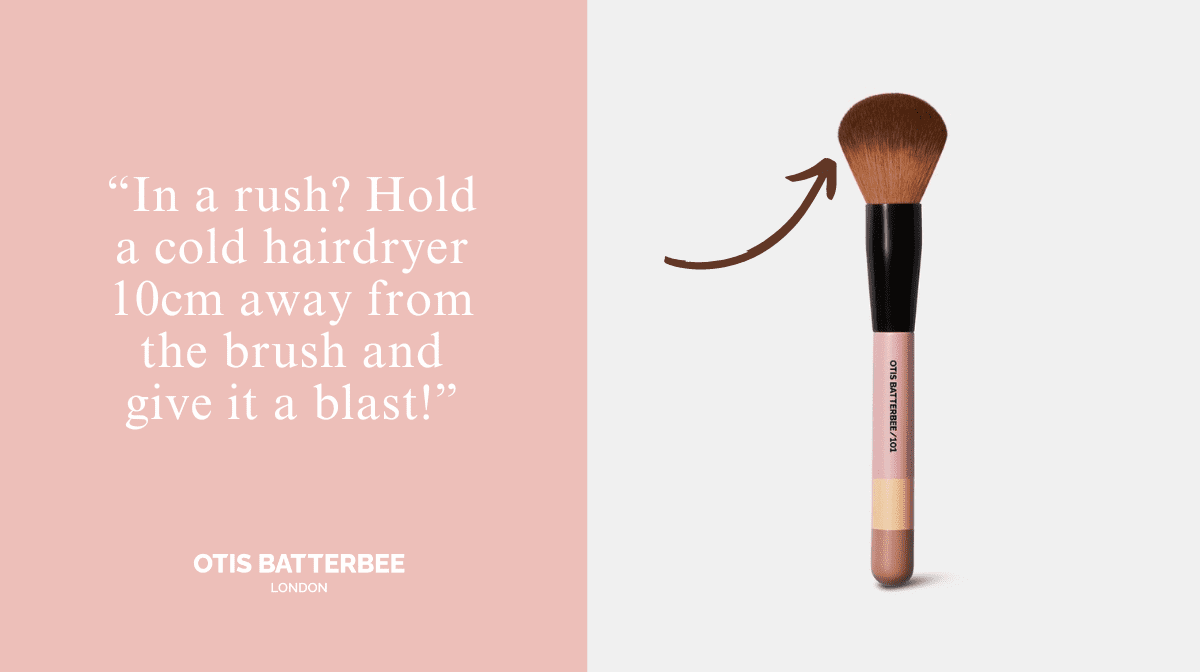
Shake the excess water and pat out the bristles with a clean towel to remove as much moisture as possible. Then lay your towel over the brushes to allow even more soak-up, normally leaving them overnight does the job. If you’re in a rush, set your hair dryer to cool and give the bristles a blast, holding the dryer at least 10cm from the brush.
Cleaning Your Makeup Sponge
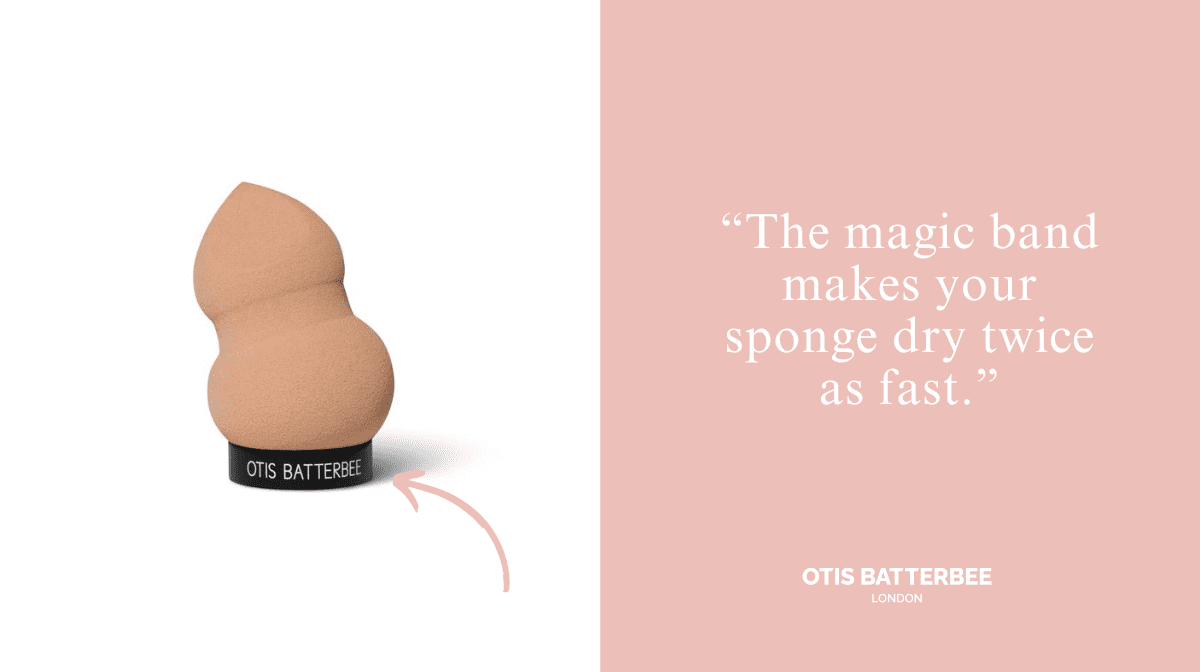
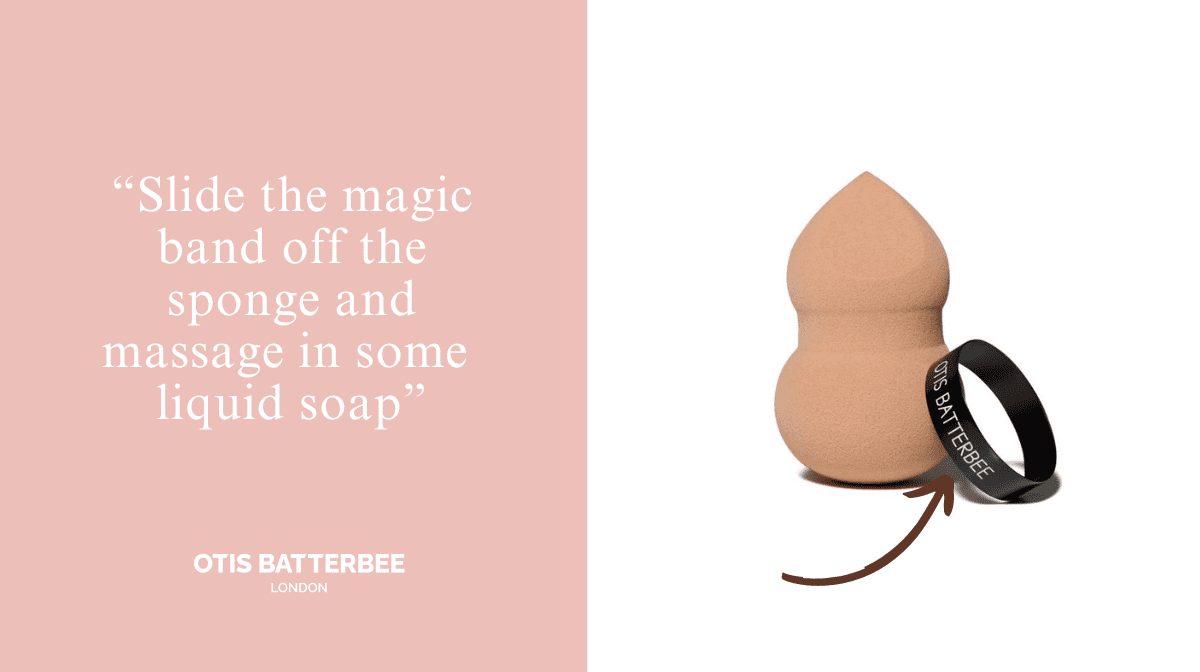
The best way to look after makeup sponges isn’t common knowledge. The first bit of news is that they are high maintenance and should ideally be washed after every use. They absorb lots of liquid product, which can breed bacteria. And never store damp sponges in your makeup bag! These beauties need ventilation. Having learnt from a fair amount of trial-and-error, soap and water is the way forward to clean these beauty tools. Makeup sponges need to dry out and can take a few days to fully dry, that’s why I created the drying band. Just slide the band off the sponge and use as stand, the wet sponge will dry faster and more hygienically this way. It’s a simple detail but it works wonders!
Work It
Hold your sponge under running water until it expands in size. If you're using a liquid soap, squeeze some directly onto the sponge and work it in by massaging with your fingers, you can also work the product into a small dish too. If you're using a good old-fashioned bar of soap, rub the sponge directly on the soap to work up a good lather.
Rinse & Rinse
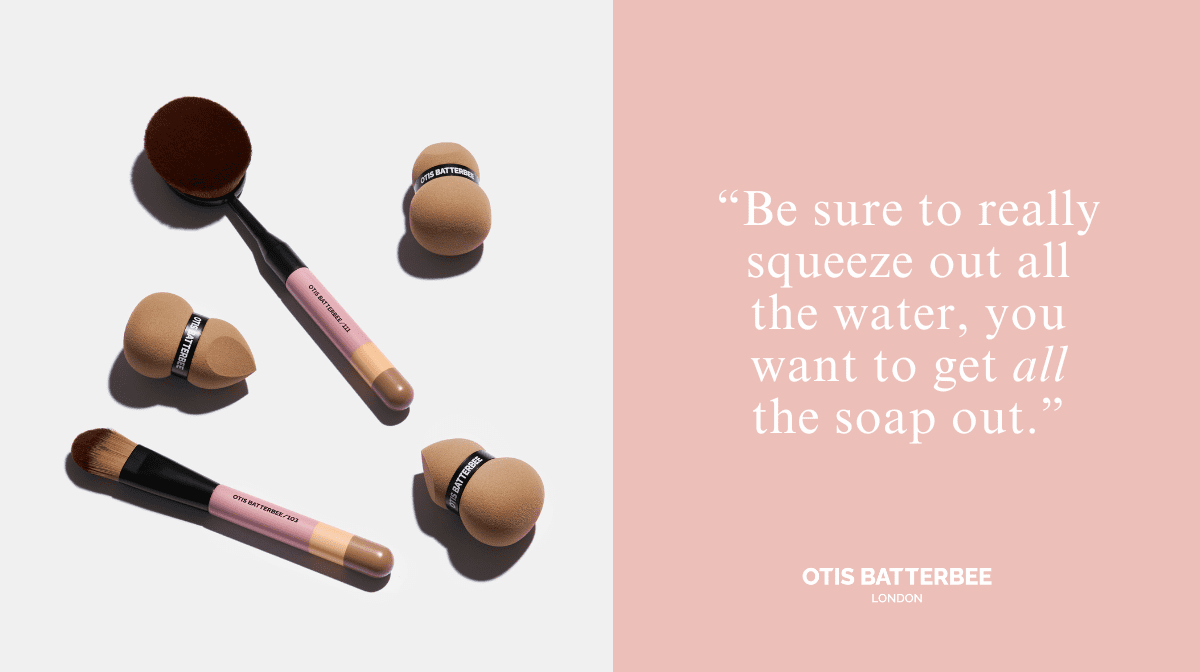
The sponge will now be quite soapy, rinse it again under running water. Make sure to gently squeeze it while you do so, it’s just to avoid soap getting stuck inside the sponge pores.
And Ventilate!
The next thing is to place the sponge on the drying band that I created and leave in a well-ventilated space. Don’t leave in the bathroom, it’s too damp!
