

WHAT IS UNDERPAINTING?

Unlocking the Art of Underpainting: A Makeup Revelation
Underpainting revolutionises the traditional makeup routine by flipping the order of application. Instead of layering contour, blusher, and highlighter on top of foundation, underpainting involves applying these products beneath your foundation. This strategic technique tones down the intensity of pigments, resulting in a seamlessly blended look with soft shadows and subtle sculpting, rather than harsh lines or bold colours. By concealing visible lines, underpainting creates a more convincing effect, enhancing the appearance of high cheekbones and sharp jawlines.
How to Underpaint your face: A step-by-step guide
In the same way that barely there and the no-makeup look still requires a fair bit of makeup, underpainting still takes a little time and know-how. So we've broken it down for you.
Step 1: Prep your skin
Preparing your skin is paramount to achieving flawless underpainting results. Dry, dehydrated, or rough skin can disrupt the seamless blend we're aiming for here, causing makeup to cling unevenly. Incorporating regular exfoliation eliminates dead skin cells, fostering a smooth canvas. Additionally, applying moisturiser prior to makeup application ensures your skin is plump and well-prepped for the process.
Step 2: To prime or not to prime
If your base tends to fade by midday, you'll understand the importance of a primer to enhance its longevity. Primers offer additional benefits such as brightening the complexion and minimizing pores, making them appealing if you struggle with dullness or uneven texture. Nevertheless, using a primer isn't crucial for underpainting; it ultimately depends on your personal preferences.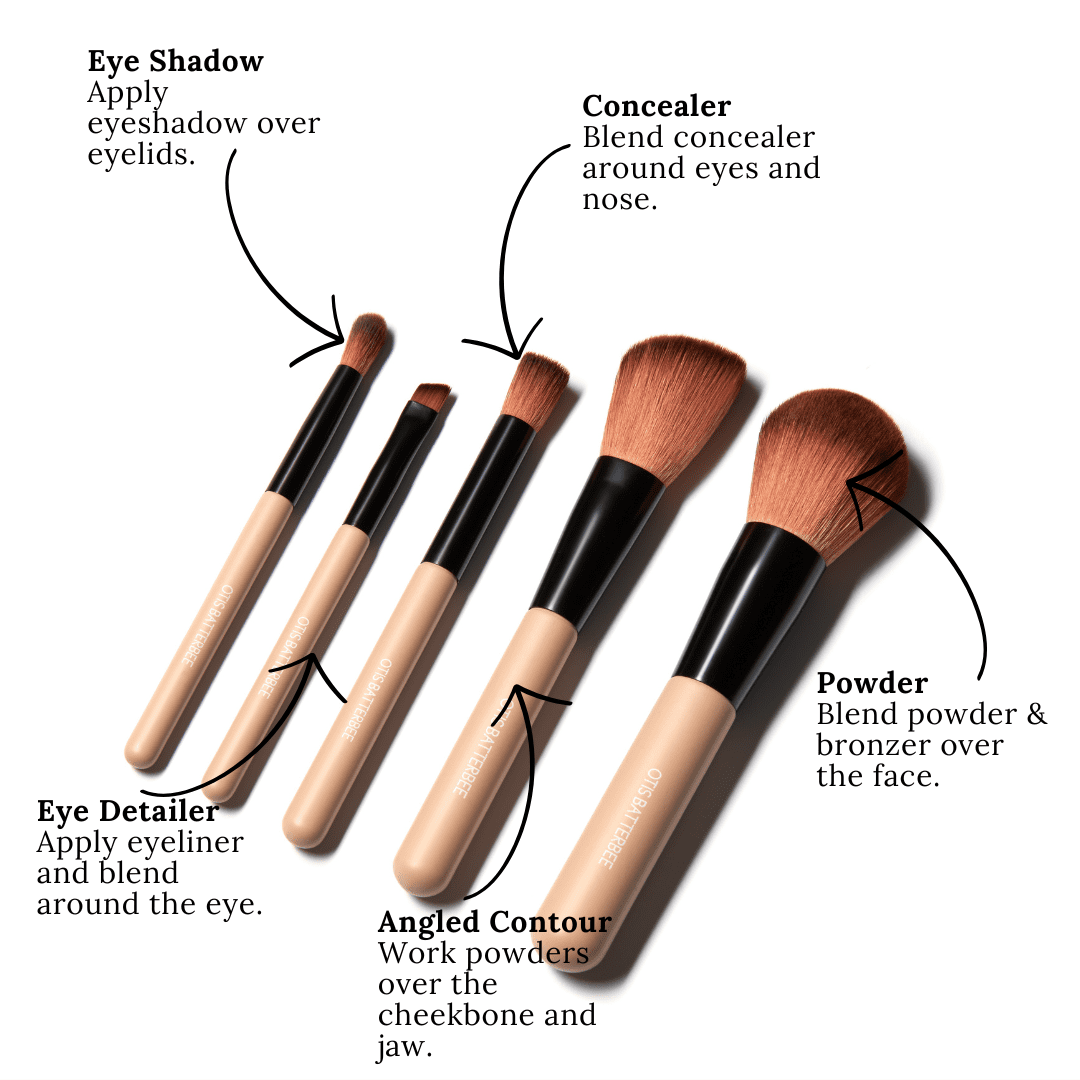
Step 3: Get contouring
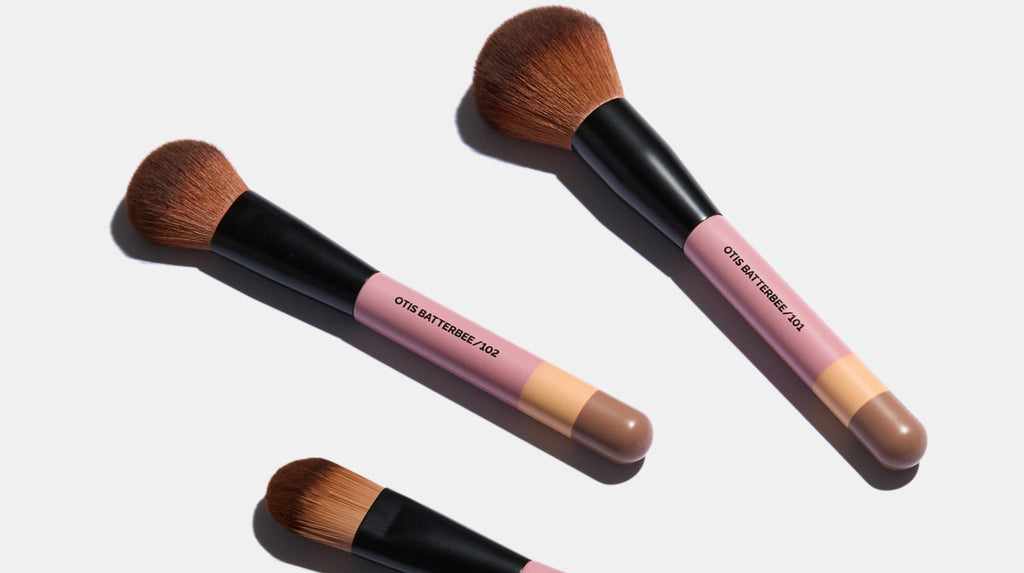
Contouring allows you to sculpt your features and define your facial structure. The goal is to create the illusion of shadows, giving the appearance of lifted areas. Apply your contour using the angled contour brush in the Mini Face Brush Set. The shorter handle makes for easier application. Apply along the outer edges of your hairline, tracing your forehead, down the sides of your nose, in the hollows of your cheeks, and along your jawline, stopping at the chin. No need to blend yet; that comes later in the process.  Step 4: Time to blush
Blush enhances your complexion, providing a lively and radiant finish. Apply using the Blusher Brush 102. For fuller-looking cheeks, concentrate the colour on the apples before blending it upwards and outwards. While typically it's recommended to choose a blush shade that mimics your natural flush, you can opt for a brighter or more pigmented hue since you'll be layering foundation on top.
Step 5: The highlighter
Highlighter serves to illuminate specific areas of your face, accentuating their features. Apply highlighter to the center of your forehead, down the bridge of your nose, atop your cheekbones, in the inner corners of your eyes, and along your brow bone. Again you can use the Blusher Brush for this. No blending is necessary at this stage, as blending will be addressed later.
 Step 6: Smoosh
When India Knight wrote about our Foundation Buffer Brush she created the word ‘smooshing’. We can't categorically claim she created the word but let's not go there right now. So it's time to smoosh it all together. Dispense a few pumps of your preferred base product (ideally, a lightweight foundation or tinted moisturiser), then, employing our most fluffy makeup brush (the Ultimate Face Brush will do you proud), delicately buff the product onto your skin.
Should your base provide excessive coverage, it may obscure the subtleties of the layers underneath. Begin with areas devoid of product, then systematically proceed to blend over other regions, commencing with the lightest (highlighter), followed by bronzer and blusher.
What do you need in your underpainting kit?
You don't need an easel or palette for this makeup technique, but you will require some supplies. Here's everything you need to underpaint your complexion:
- Moisturiser to prime your skin for makeup.
- Contour or bronzer to draw on those all-important shadows and create a more sculpted look.
- Blusher to enhance the natural flush of your cheeks and make sallow complexions look healthier.
- Highlighter to illuminate and shine a light on the areas you want to draw attention to.
- Lightweight foundation or tinted moisturiser to add coverage to the skin and create a more uniform finish.
-
Ultimate Face Makeup Brush and/or Powder Makeup Brush
-
Precision Blending Sponge Trio
-
Foundation Brush
-
Blusher Makeup Brush
- Selection of small tools for narrower areas. You can't go wrong with the Total Face Makeup Brush Set.
Can you use powder products for underpainting?
Underpainting relies on the formulas melting and merging into one to achieve a beautifully blended finish, making cream products the preferred choice. While powders may offer better longevity, they lack the second-skin blendability characteristic of creams.
We love underpainting because it allows for a flawless, natural-looking makeup application. By applying contour, blush, and highlighter beneath foundation, we achieve a seamless blend that enhances our features without appearing too heavy or artificial. This technique helps create soft shadows and subtle sculpting, resulting in a radiant complexion that looks effortlessly beautiful.