

MAKEUP SPONGE CARE GUIDE

A makeup sponge is undoubtedly a beauty essential, but over time, it can lose its luster and vitality. Your once-pristine miracle makeup sponge may no longer feel as luxurious as cashmere. However, with these easy-to-follow maintenance tips, you can revive your makeup blender and have it looking and performing like it's brand new.
Daily Cleaning Is Key
Let's be blunt - cleaning your makeup sponge is a daily necessity, especially if you have sensitive or acne-prone skin. All makeup tools, including brushes, can become breeding grounds for dead skin cells, oil, pollution, and bacteria. So, don't think twice about giving your sponge the cleaning it deserves. That's precisely why my precision makeup sponge set includes three individual makeup sponges, ensuring you always have a fresh and clean one at your disposal.

The Importance of Proper Storage
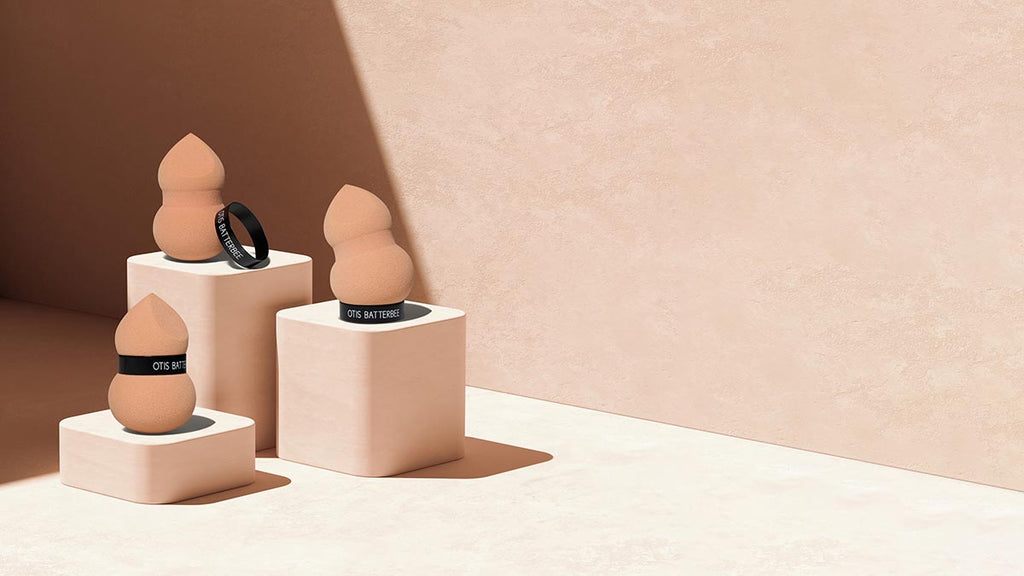
One thing makeup sponges truly despise is a lack of air circulation. Never store a damp makeup foundation sponge in a bathroom or in an area with poor ventilation, as this provides a breeding ground for harmful bacteria and leads to unsightly discoloration. This is precisely why I developed the Magic Band - a metal band that effortlessly slides onto my precision makeup sponges, allowing you to stand your sponge upright for efficient drying. This ingenious design feature not only ensures proper air circulation but also prevents your makeup blender from inconveniently rolling off your dressing table. I was inspired to create this after witnessing the frustration of makeup artists on fashion photoshoots dealing with runaway blending sponges.
Cleaning Your Makeup Sponge with Care
Just as you'd use shampoo for your hair, I recommend using a mild washing-up liquid to clean your makeup sponges. It's cost-effective and highly effective. Here's a simple yet effective cleaning routine to make your makeup sponge care a breeze:

Squirt a small amount of washing-up liquid directly onto your makeup foundation sponge.
Gently massage the makeup sponge material for approximately 40 seconds.
Squeeze and massage the soap into the sponge (think of it as a therapeutic session). You'll notice some bubbles from the washing-up liquid, but these will dissipate once you rinse the sponge under running water.
Continue squeezing the sponge under the tap until the water runs clear and is free from soap residue.
Finish by gently patting your makeup sponge with a towel to remove excess moisture.
The final step is to place your precision makeup sponge on the Magic Band, allowing it to air dry. You've probably noticed my obsession with ensuring proper air circulation for your sponge's well-being.
Knowing When to Replace Your Makeup Sponge
One common question I receive is about the ideal time to replace a makeup sponge. I recommend replacing it every three months. It took me over a year to develop my makeup blender sponges to perfection, ensuring they mimic skin texture and provide the perfect bounce during application. They're deserving of your love and care.
Avoid a significant makeup sponge mistake: never store a damp sponge in your makeup bag. The lack of air circulation within your makeup bag can lead to bacterial growth and diminish the love you have for your cherished makeup sponge.